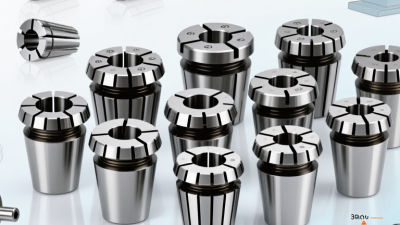
Choosing the right Pull Type Collet begins with the workpiece, not the catalog page. Its diameter, shape, material, and required grip all matter. So do the spindle nose, drawtube, and machine specifications. A mismatch may cause poor seating, visible runout, or an unreliable hold. Small details count.
A verified quotation from a named Pull Type Collet expert was not provided, so I won’t invent an attribution. The practical principle is simple: “A collet is only as dependable as its fit, condition, and setup.” Treat that as editorial guidance, not a sourced expert quote.
This guide’s seven tips examine the choices that affect everyday performance: compatibility, gripping range, material, concentricity, operating speed, maintenance, and supplier support. For example, a collet that looks correct on a bench may still fail to seat properly if its profile or drawbar connection differs. Check the machine manual and collet specifications before ordering. Inspect contact surfaces for chips, wear, or dried residue. Clean parts carefully; even a tiny particle can alter seating.
There is no universal best choice. A setup suited to short production runs may not serve repeated, high-volume work equally well. That distinction is easy to overlook. The right Pull Type Collet should match both the machine and the job, with clear attention to measurable specifications. If a detail remains uncertain, pause and verify it with the manufacturer or a qualified tooling professional before installation.
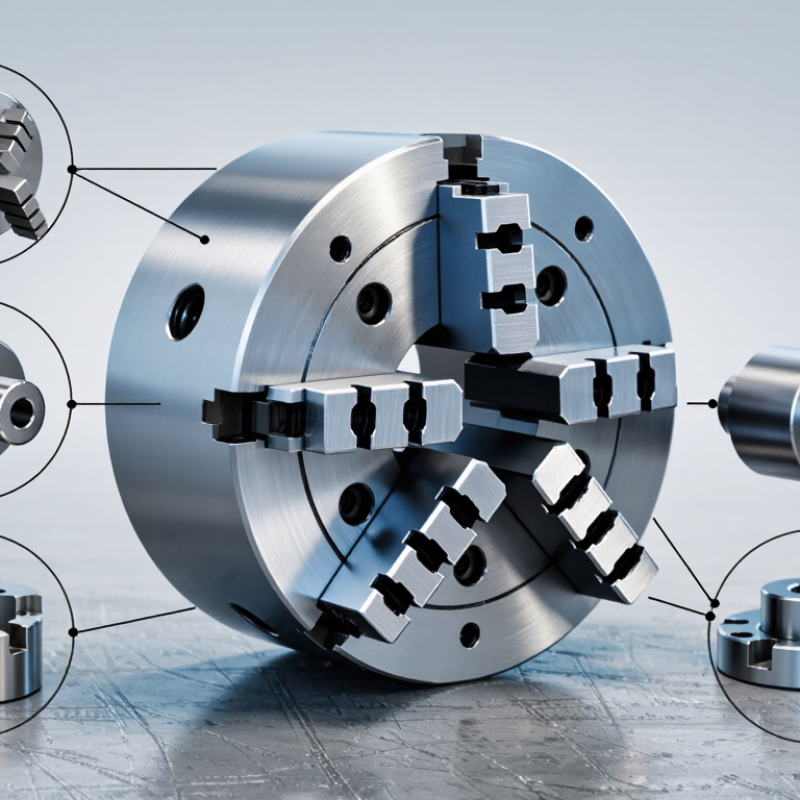
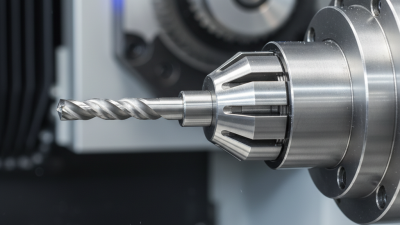
A pull-type collet grips by moving backward into a tapered seat. The drawbar pulls the collet into the spindle, and the taper squeezes its segments inward around the workpiece. This action creates a firm, centered hold when the collet, stock, and spindle are clean and correctly matched.
Small chips can interfere. Even a thin smear of oil may affect seating or grip, so inspect contact surfaces before loading.
Grip depends on more than drawbar force. A collet that is too large or too small may hold unevenly, mark the material, or allow runout. Check the collet’s stated size range against the actual stock diameter, especially when bar stock varies. It is tempting to assume a tight-feeling setup is accurate. It may not be. Measure runout with suitable shop equipment, and follow the machine maker’s instructions for setup and operating limits.
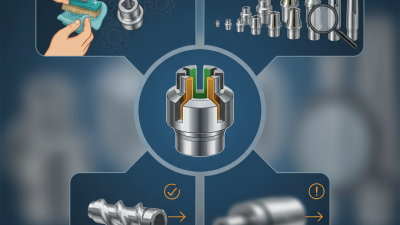
Quick tips: Clean the taper and collet slots; check for wear, cracks, or trapped debris. Confirm the stock seats far enough into the collet without bottoming unexpectedly. Keep the workpiece straight, then verify grip and runout before machining. Stop the machine before adjustments. If the setup still feels uncertain, pause and recheck the fit rather than increasing drawbar force; more force is not a fix for a mismatched collet.
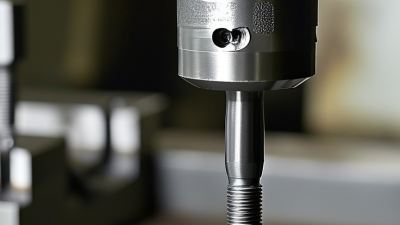
Before selecting a pull-type collet, confirm the machine’s spindle interface and the collet chuck’s mounting dimensions. ISO 702-1:2014 specifies spindle-nose connection dimensions for turning machines, while ISO 15488:2008 provides dimensional data for ER collets. These references help check interfaces, but an ER collet is not automatically compatible with every pull-type system.
Measure the drawbar or drawtube thread, pitch, available travel, and connection style against the machine manual. A thread that starts smoothly can still have the wrong pitch. Check spindle-nose dimensions, too. Then compare the collet’s taper, gripping range, and overall length with the chuck specification. A mismatch may prevent full seating or reduce clamping force, even when the parts appear similar.
Leave room for a physical verification. With the machine isolated, test-fit the assembly and confirm the collet closes evenly around a clean, correctly sized workpiece. Check that the drawbar reaches its working position without bottoming out. Small differences in thread engagement or drawtube travel are easy to miss on a drawing. I would recheck these measurements before ordering; catalog descriptions can be incomplete, and standards do not certify a specific machine-and-collet combination.
A pull-type collet must match the workpiece’s measured diameter, not just its nominal size. Check the part at several points, especially if it is turned stock with slight taper or ovality. Then compare the readings with the collet’s stated gripping range. Keep the diameter comfortably inside that range; relying on maximum compression can reduce contact and make clamping less consistent. Small details matter. A thin oil film or a burr can change how the part seats.
For ER-style collets, ISO 15488:2000 specifies dimensional requirements, providing a useful baseline for collet dimensions. It does not confirm that a particular setup will grip your part accurately. Check the collet maker’s published range, then test the assembled setup with the actual workpiece. Measure runout near the collet and again farther along the part. ISO 230-2:2014 describes tests for machine-tool positioning accuracy and repeatability; it is a reminder that repeatability is measured, not assumed. I would also recheck after changing stock batches. That step can feel fussy, but stock variation is easy to underestimate.
Match Collet Size and Grip Range to the Workpiece
Use the nominal diameter as a starting point when selecting a collet. The metric values are exact conversions from the listed inch sizes; they are not grip-range specifications. Check the collet manufacturer’s stated grip range, workpiece tolerance, and required gripping length before use.
Choosing a pull-type collet starts with the accuracy your operation actually needs. Check runout at the cutting edge, not only at the holder nose, because spindle condition, dirt, and uneven clamping can affect the result. Keep the taper and collet slots clean; a tiny chip can create visible tool wobble. Small differences matter. Also confirm the collet’s stated range fits the shank diameter. A near-limit fit may grip less consistently than a correctly sized one.
Material choice depends on the tool, coolant, and working environment. Spring steel collets are common because they flex to grip the shank, but wear, corrosion, or repeated over-tightening can reduce their reliability. Inspect the slots and gripping surface for marks before a precision job. A catalog specification is useful, but it cannot reveal the condition of the collet already on your bench. That part is easy to overlook.
Match the holder to the machining task. Heavy cuts, long tools, and high spindle speeds place different demands on clamping stability than light finishing passes. Pull-back action can shift the tool axially as the collet seats, so check tool length after clamping and account for it in your setup. For tight tolerances, measure runout with the actual tool installed. If results vary between setups, pause and inspect the spindle interface, shank, and clamping procedure rather than blaming the collet alone.
A pull-type collet should match the spindle, workpiece, and drawbar specifications. Check the collet and pull stud for compatibility before installation. Fit matters. Seat clean, dry mating surfaces, then tighten to the machine maker’s specified torque. A dial indicator can reveal runout before a cut begins; do not assume a familiar setup is still accurate.
Tip: With the spindle stopped, inspect the collet taper and slots for chips, burrs, or cracks. Clean with a lint-free cloth and use only approved cleaning methods. Replace damaged parts; extra tightening will not fix a poor fit. The U.S. Bureau of Labor Statistics reported 2.8 recordable injury and illness cases per 100 full-time-equivalent workers in manufacturing in 2023. That sector-wide rate is not specific to collet use, but it underscores why safe routines matter.
Before changing a tool, isolate the machine according to its procedure and wait for the spindle to stop completely. Keep hands clear during operation, and verify that the workpiece is clamped securely. Tip: After setup, run the spindle at a safe speed and listen for unusual vibration. Stop and recheck if anything feels off. This check is easy to skip when production is busy; that is exactly when it deserves attention.